Install CheckLogic Biz Tray Application

If you are using CheckLogic Biz for the first time and have not previously installed the CheckLogic Biz Tray App, you must install the application before any items can be scanned into the system.
Install CheckLogic Biz Tray ApplicationInstall CheckLogic Biz Tray Application
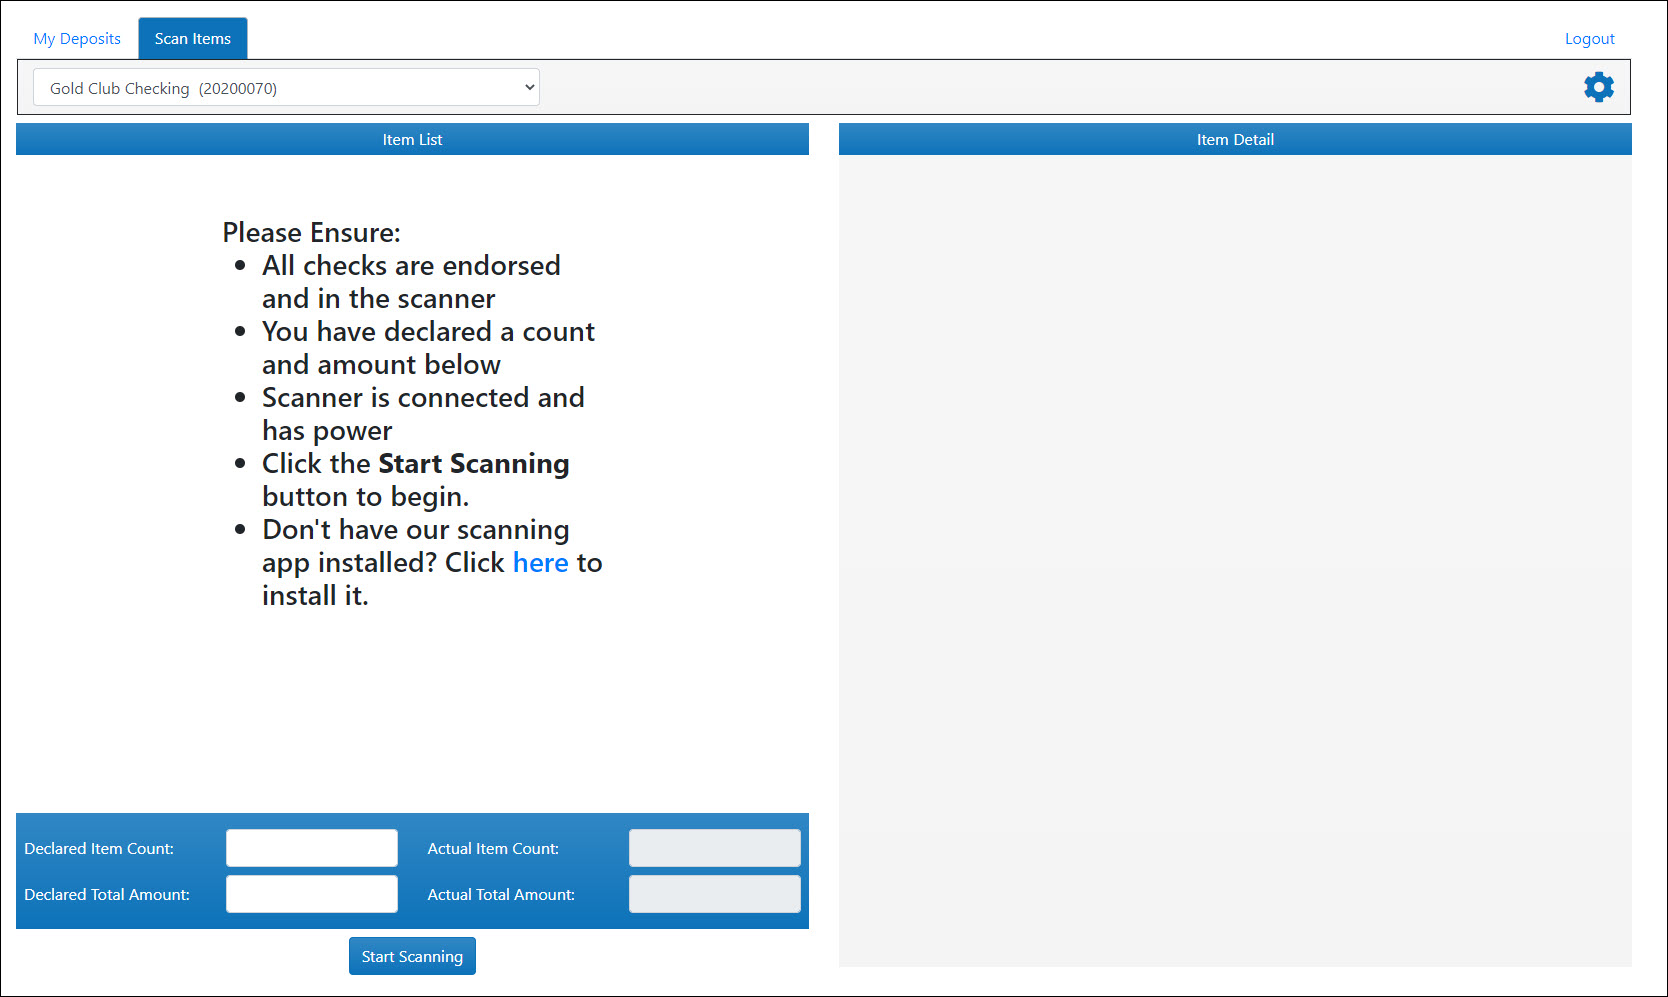
- Click the Scan Items tab. The Scan Items screen appears.
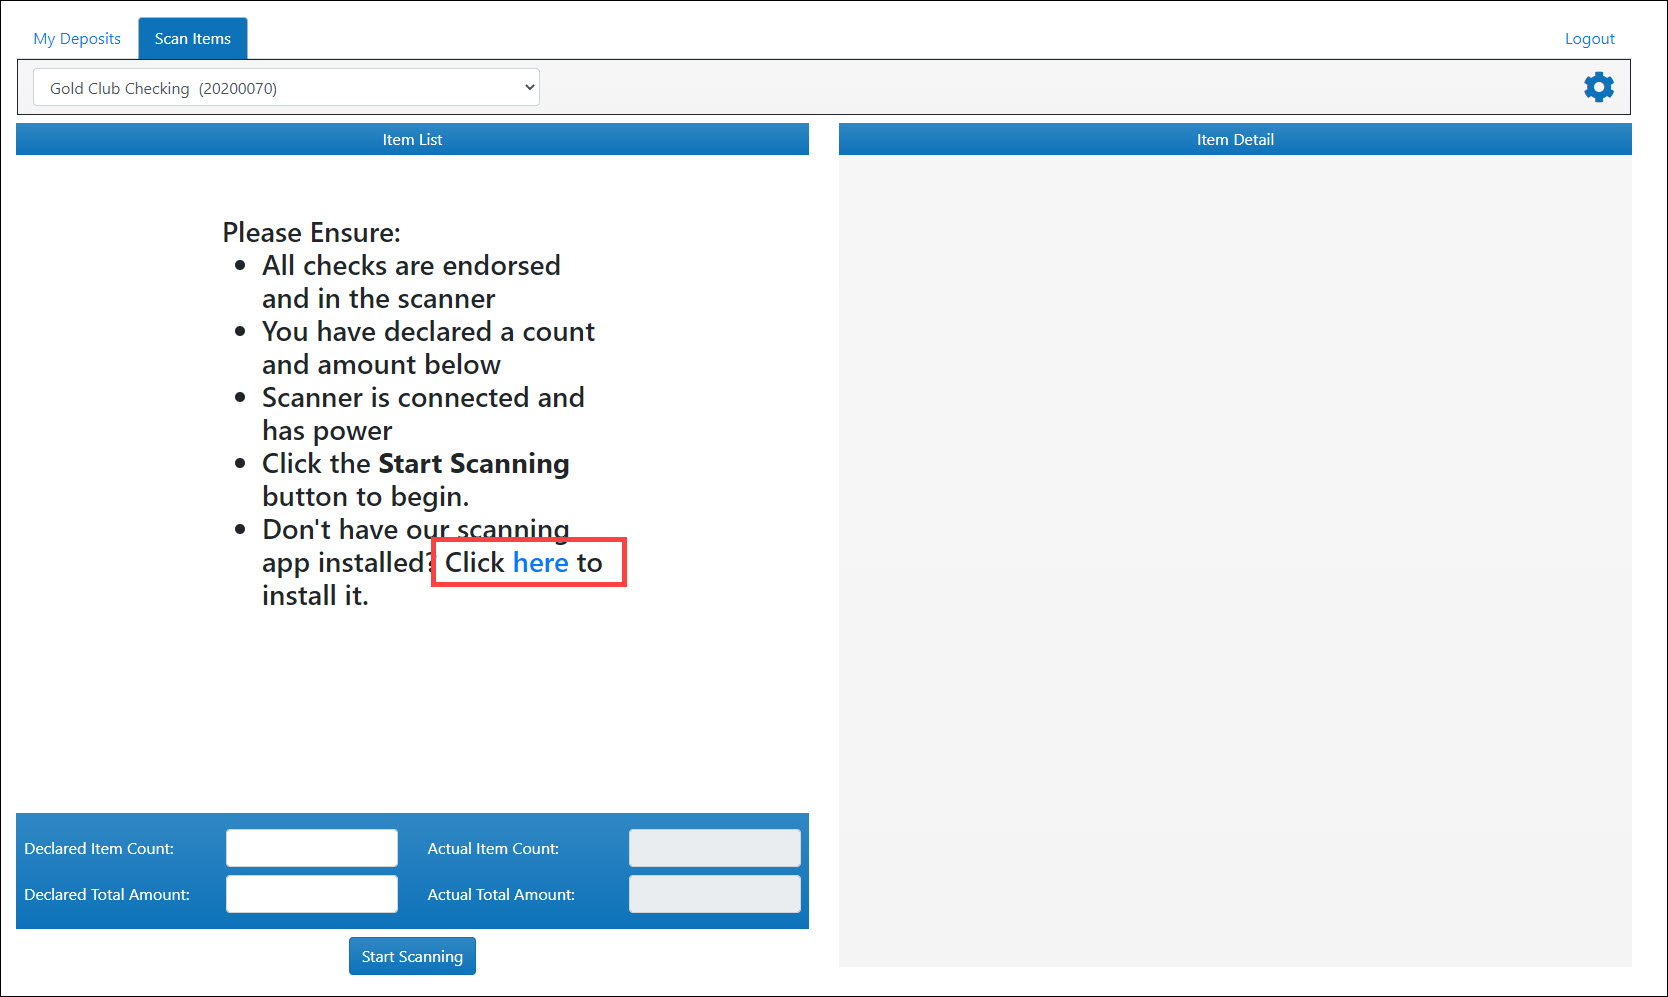
- Click the download link to begin installing the application.
- The Installer Download window appears containing a unique registration key and a link to download the application.
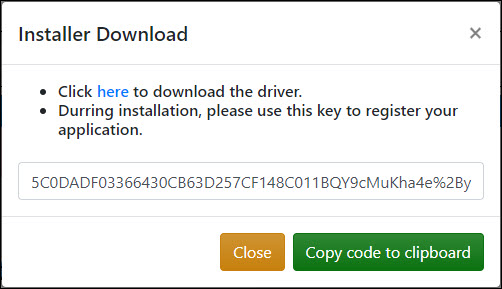
To copy the key to your clipboard, click the Copy code to clipboard button. Otherwise, keep the key nearby for use later in the activation process. - Click the driver download link. The clbiz.msi file is saved to the downloads folder on your computer.
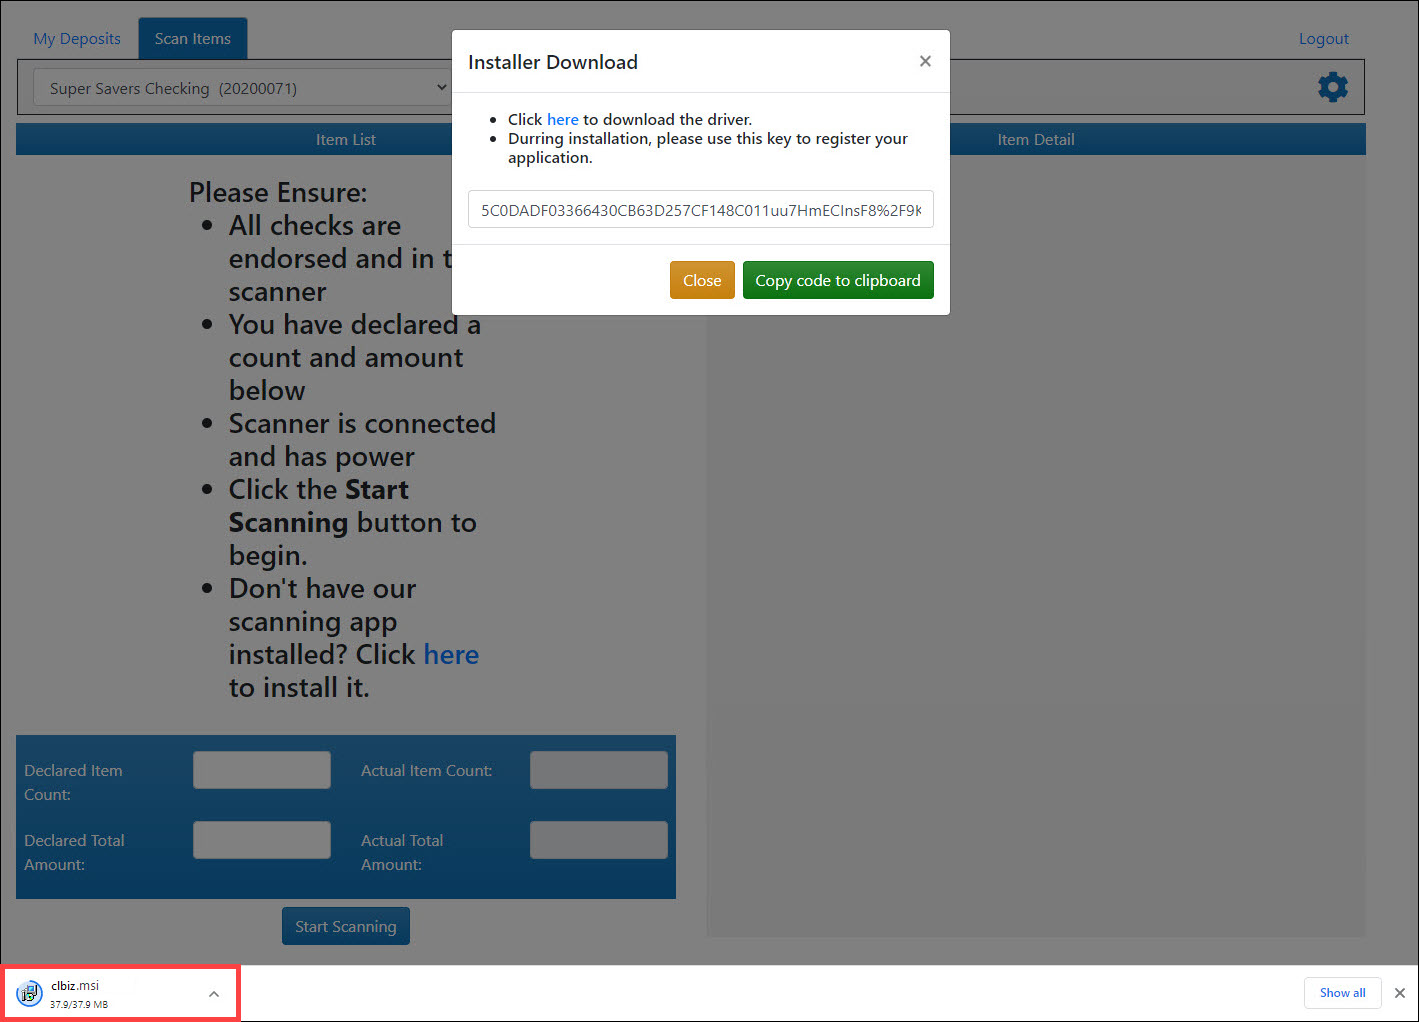
- Open the clbiz.msi file. The CheckLogic Biz – InstallAware Wizard appears.

- Click Next. The Destination Folder screen appears.
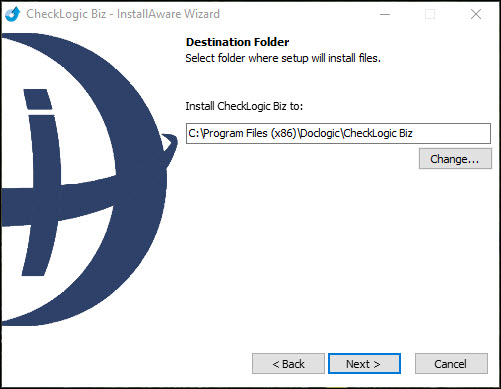
- A screen appears to select a destination folder for the CheckLogic Biz Tray Application. If you would like to change the default location where the application is saved, in the Install CheckLogic Biz to field, enter a new file path. Otherwise, click Next. The Completing the InstallAware Wizard for eDOC-It Interface App window appears.
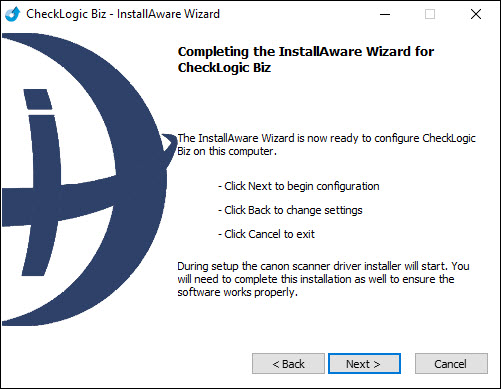
- Click Next. The Canon CR-50/80/L1 Driver Setup window appears.
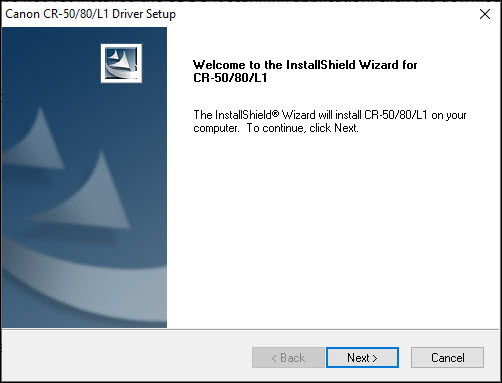
- Click Next. The License Agreement screen appears. Click Yes. The Canon driver installation begins. When the Canon driver installation is complete, the following screen appears:
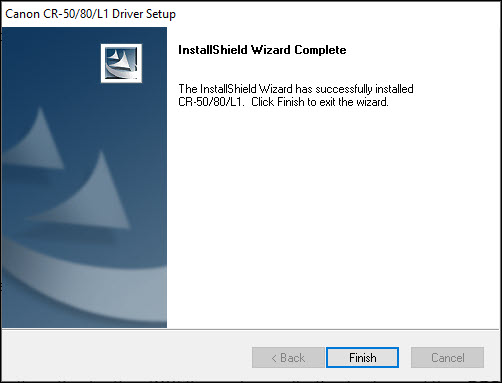
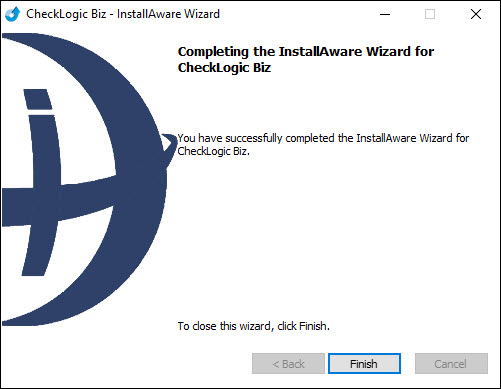
- Click Finish. The following screen appears, indicating that the installation of the CheckLogic Biz Tray Application is complete:
- The first time you click Start Scanning on the Scan Items tab, a window appears requesting the activation code you previously saved.
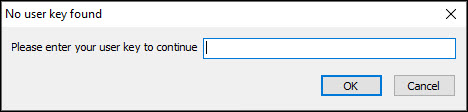
Enter the activation code and press OK to begin using the CheckLogic Biz tray application.