Pending Docs
The Pending Docs feature allows you to store signing and reference documents for use at a later time. You can directly upload documents to the Pending Docs tab or upload them using the eDOC-It Virtual Printer. Documents stored on the Pending Docs tab can then be added to a package. Once added to a package, documents can continue to be stored for later use or deleted from the system.
Documents stored on the pending tab are kept for 90 days before they are automatically deleted. You can have up to 20 documents on your Pending Docs tab at one time.
Note: The Pending Docs featured must be enabled by Client Development before it can be used. To request the Pending Docs feature, contact the Client Development team.
Upload Documents to Pending Docs Tab DirectlyUpload Documents to Pending Docs Tab Directly
- From the Pending Docs tab, click Upload. A file explorer appears.
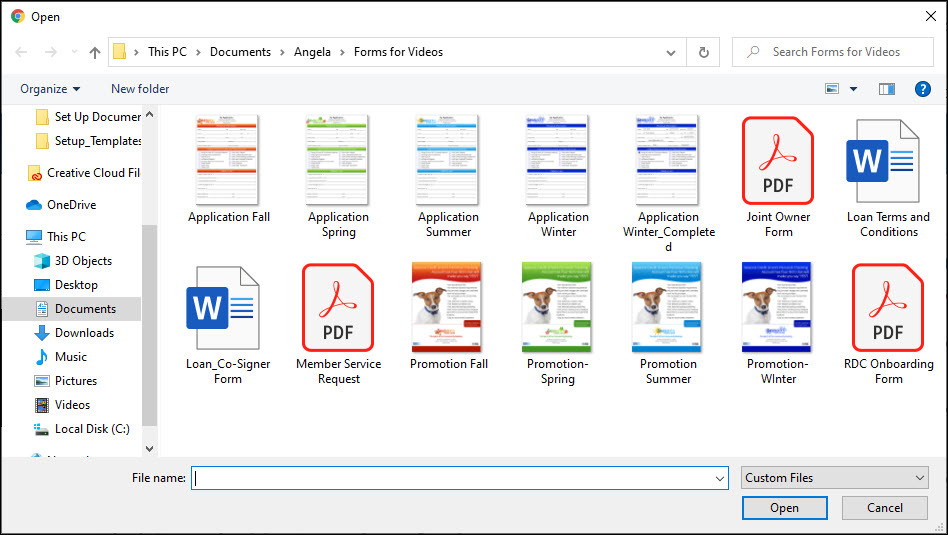
- Select your desired document using the file explorer. You can upload multiple documents at one time by clicking and dragging your cursor over multiple documents or pressing and holding CTRL while clicking on multiple documents.
- Click Open. The file is added to your Pending Docs queue.
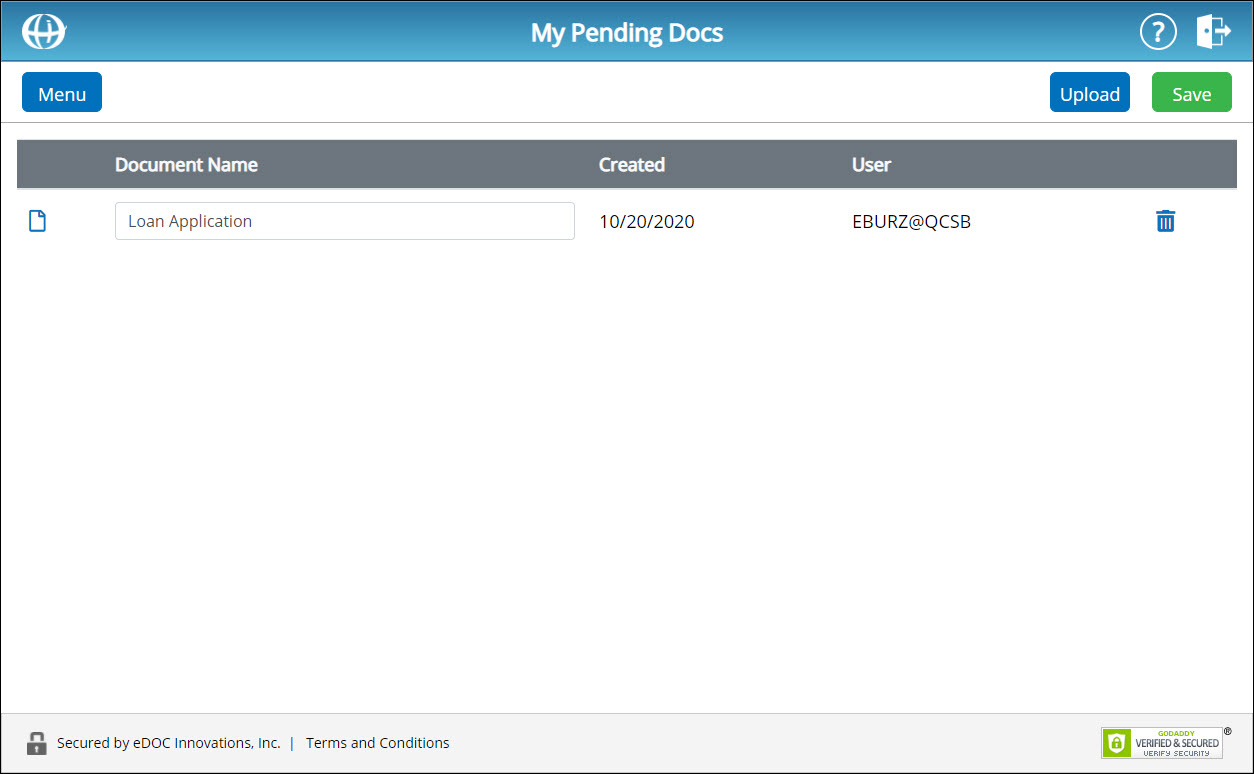
- To rename the document, in the Document Name field, enter a new name for the document. Click Save. The document name is updated.
- To see a the document you uploaded, click the corresponding View Pending Document icon
 . The document you uploaded appears in a new window.
See the eDOC-It Virtual Printer help topic for instructions on uploading documents to the Pending Docs tab via the eDOC-It Virtual Printer.
Delete Documents From Pending Docs Tab Delete Documents From Pending Docs Tab
From the Pending Docs tab, for the document you want to delete, click the corresponding trash can icon ![]() .
.
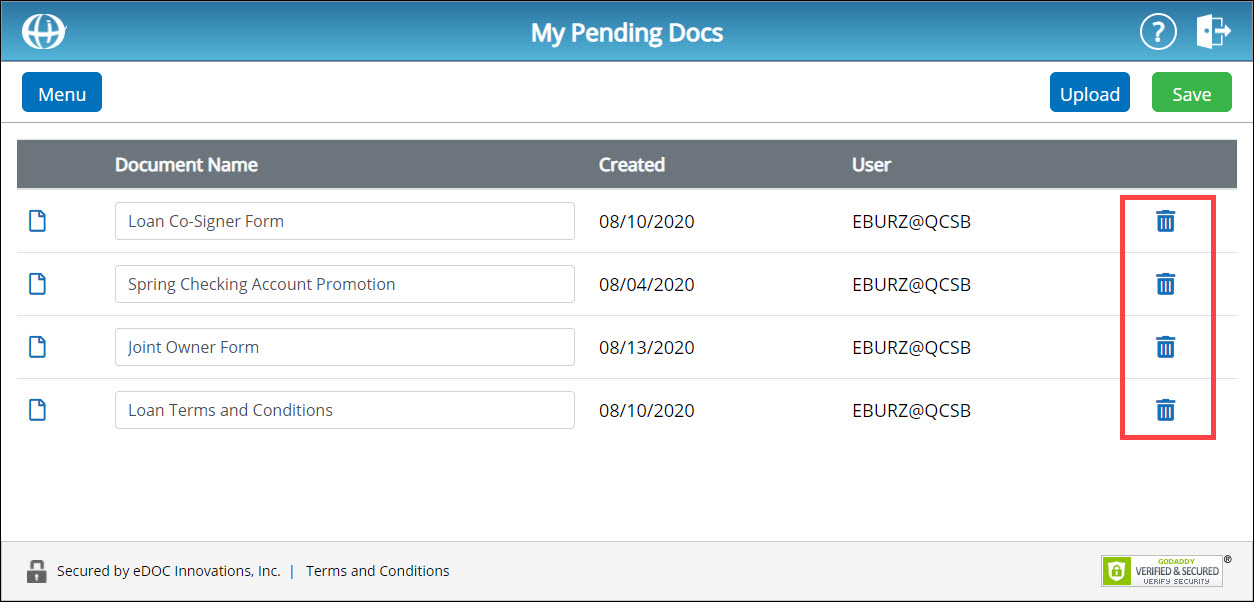
The document is deleted from the system.
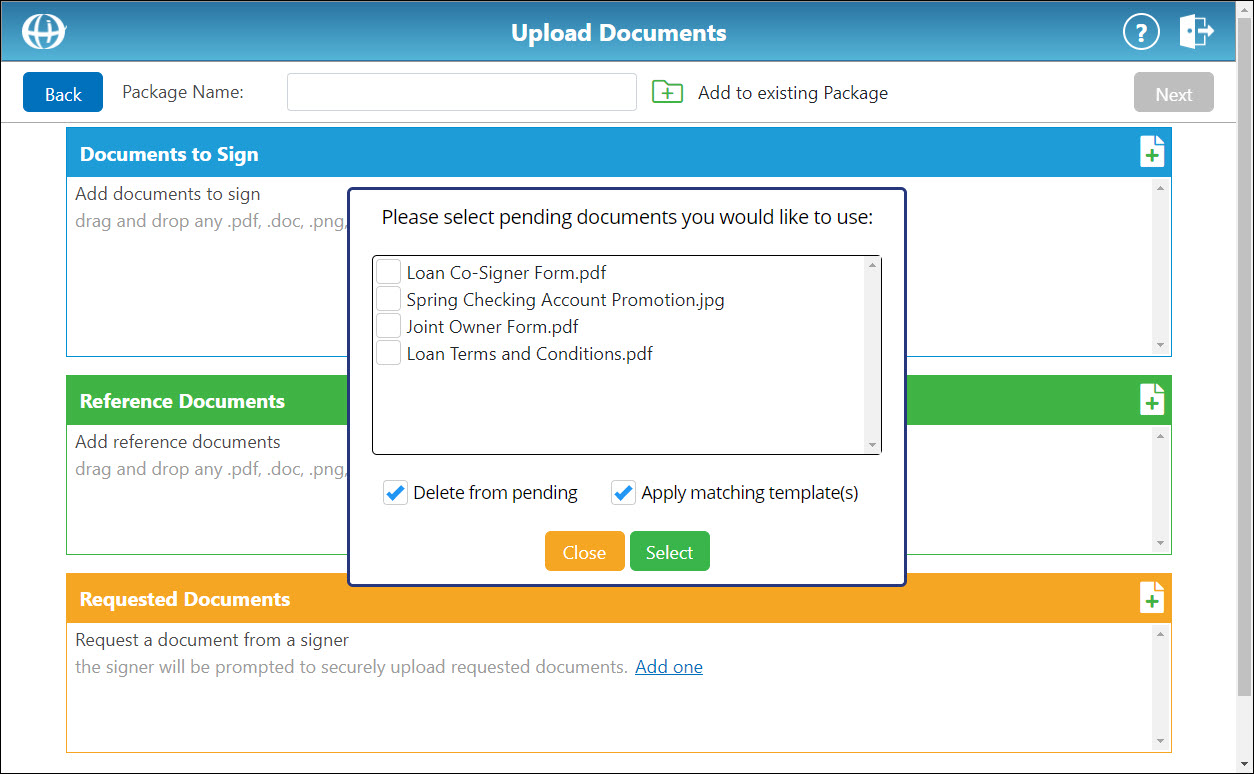
Alternatively, from the Upload Documents screen, you can delete one or more documents from your Pending Docs queue once they have been added to a package by checking the Delete from pending box:
Add Pending Docs to a PackageAdd Pending Docs to a Package
Method One
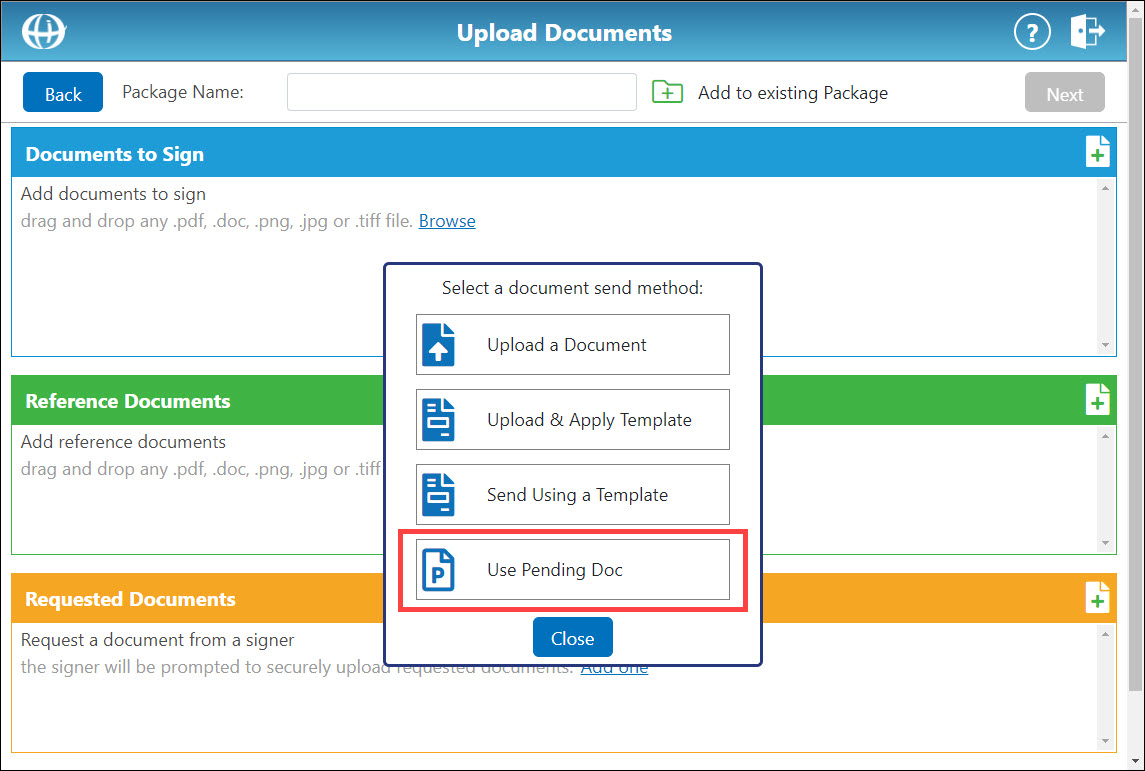
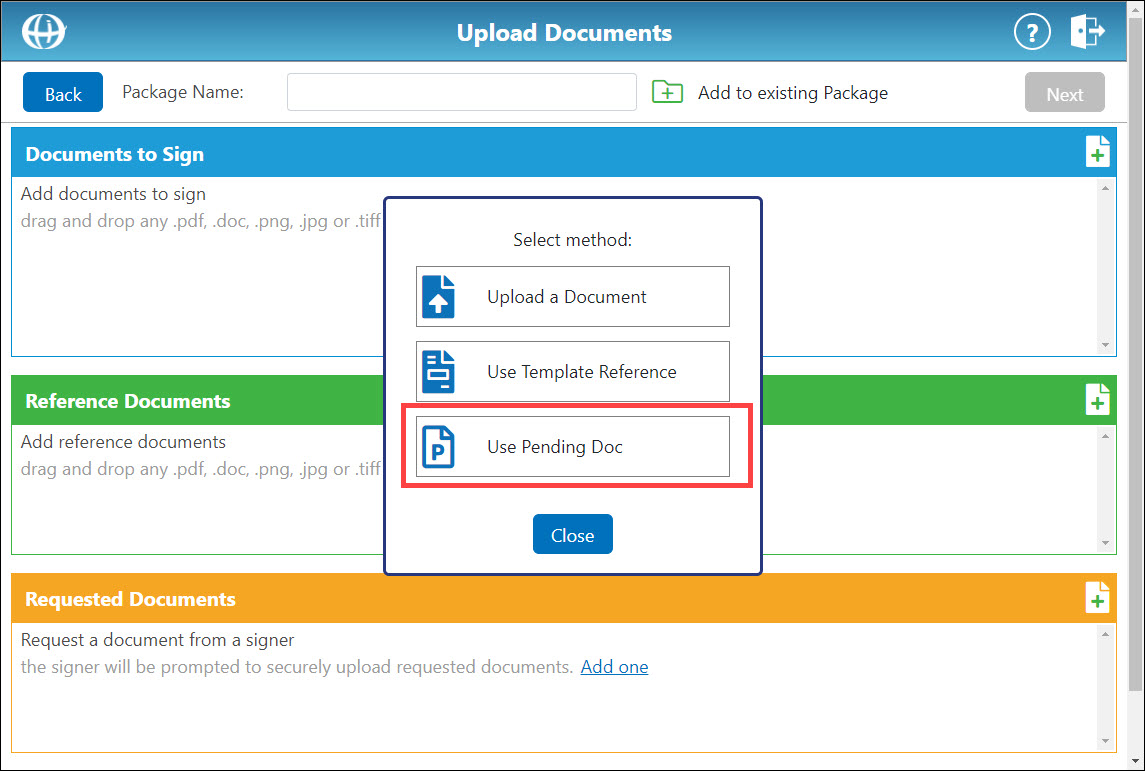
When creating a new package, you can use the Use Pending Doc upload option to select a pending document and add it to your package as a signing or reference document:
Method Two
You can also send documents directly from the Pending Docs tab to the Upload Documents screen, allowing you to quickly begin creating a package. Documents sent to the Upload Documents screen directly from the Pending Docs tab are automatically uploaded as a signing document.
From the Pending Docs tab, for the document you want to send to the Upload Documents screen, click the corresponding Send Pending Document icon ![]() .
.
![]()
The Upload Document screen appears with the selected document added to a new package as a signing document. 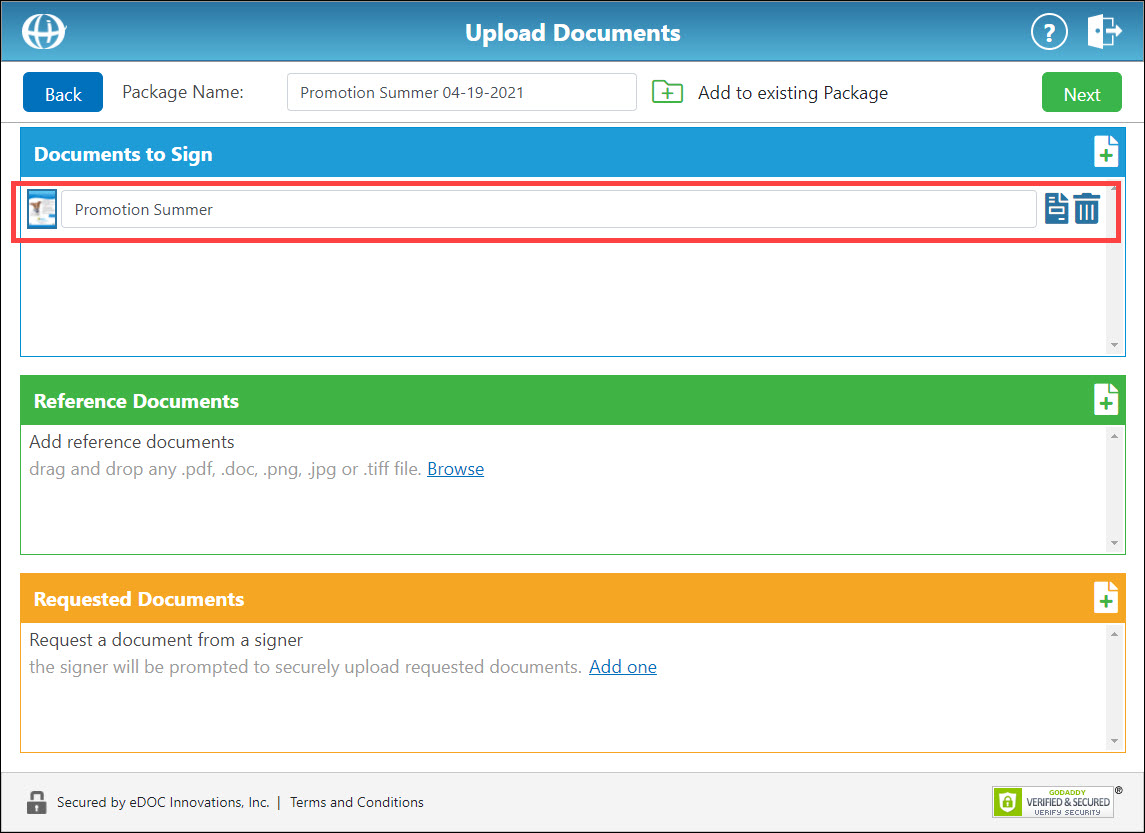
Continue adding documents to your package as needed. When you are finished, click Next to continue to the Select Signers screen.