Create Templates

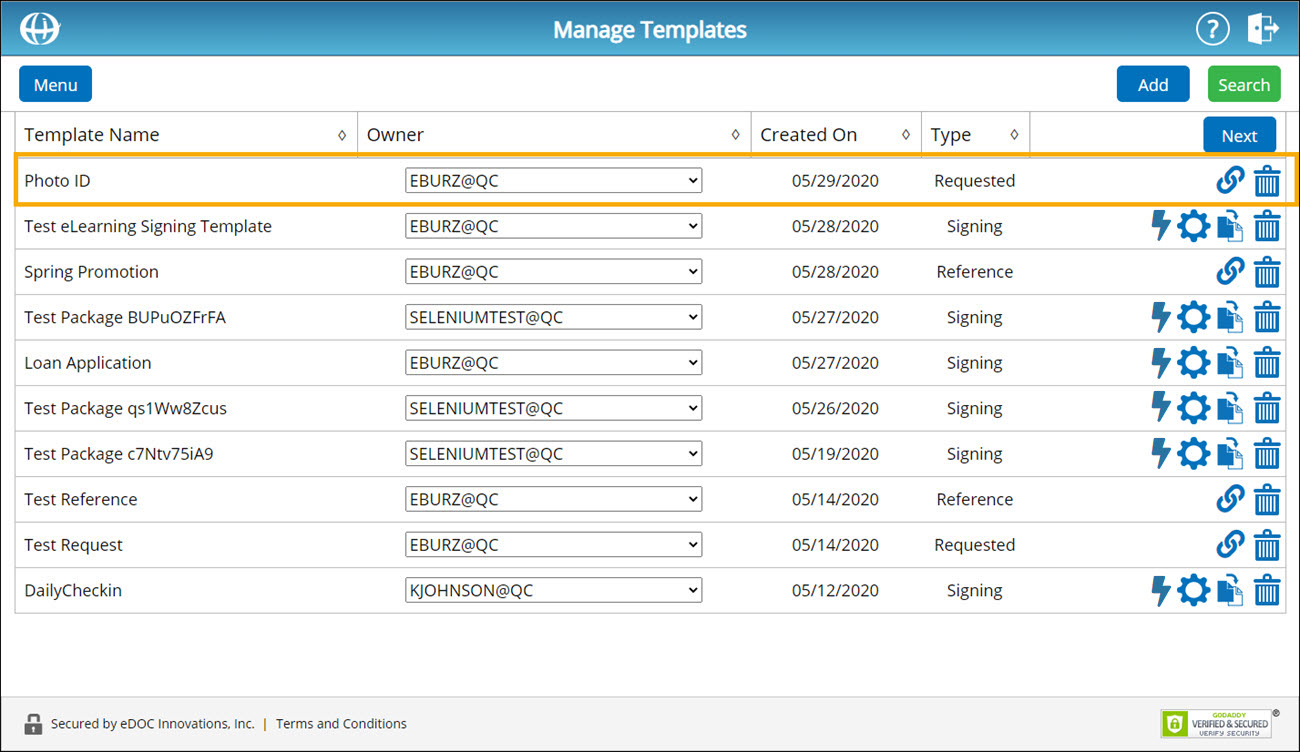
Templates are documents that contain pre-configured signing elements and can easily be reused in multiple packages. The three available template types (signing templates, reference templates, and requested templates) mirror the three available document types.
You can use template tags to filter and categorize your templates. Tags are applied to a template during the template creation process or, once a template has been created, from the Manage Templates screen. Template tags can be created and managed from the Settings menu on the Tags tab.
The steps required to create a template vary depending on the type of template being created.
Create Signing TemplateCreate Signing Template
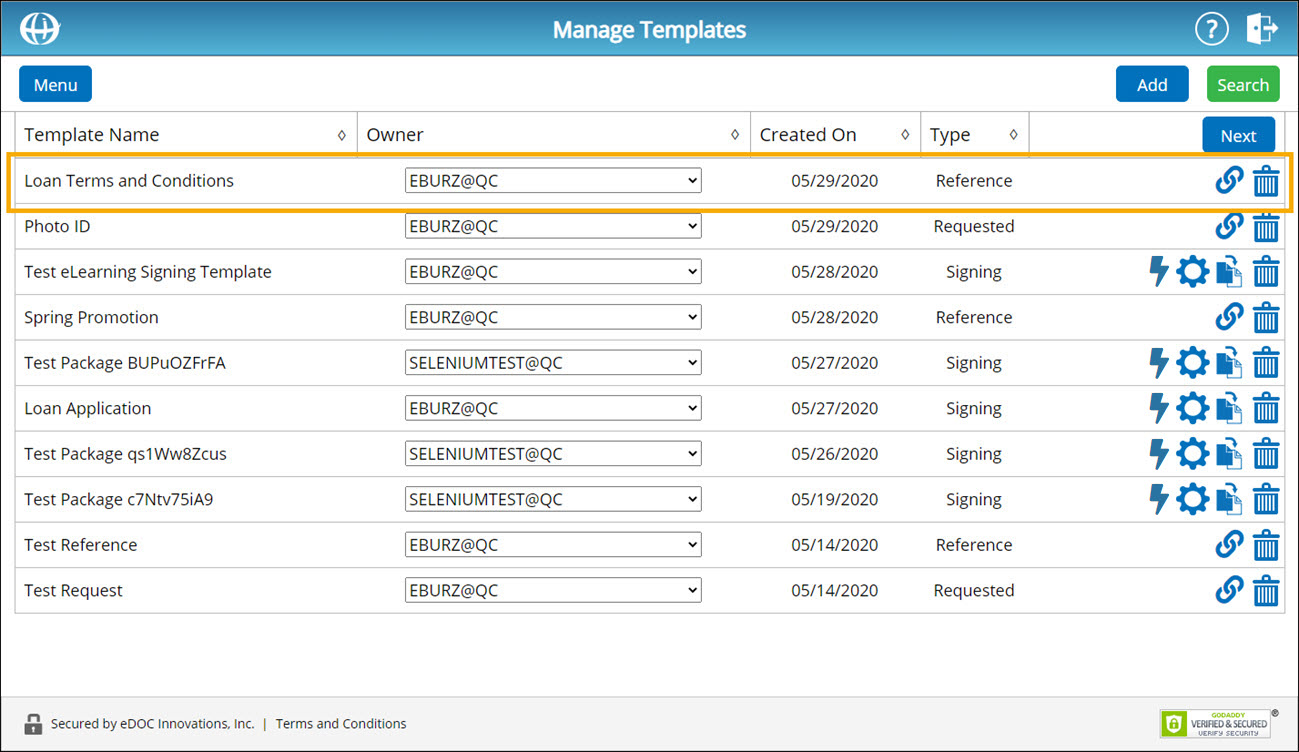
- From the Manage Templates screen, click Add. The Select Template Type screen appears.
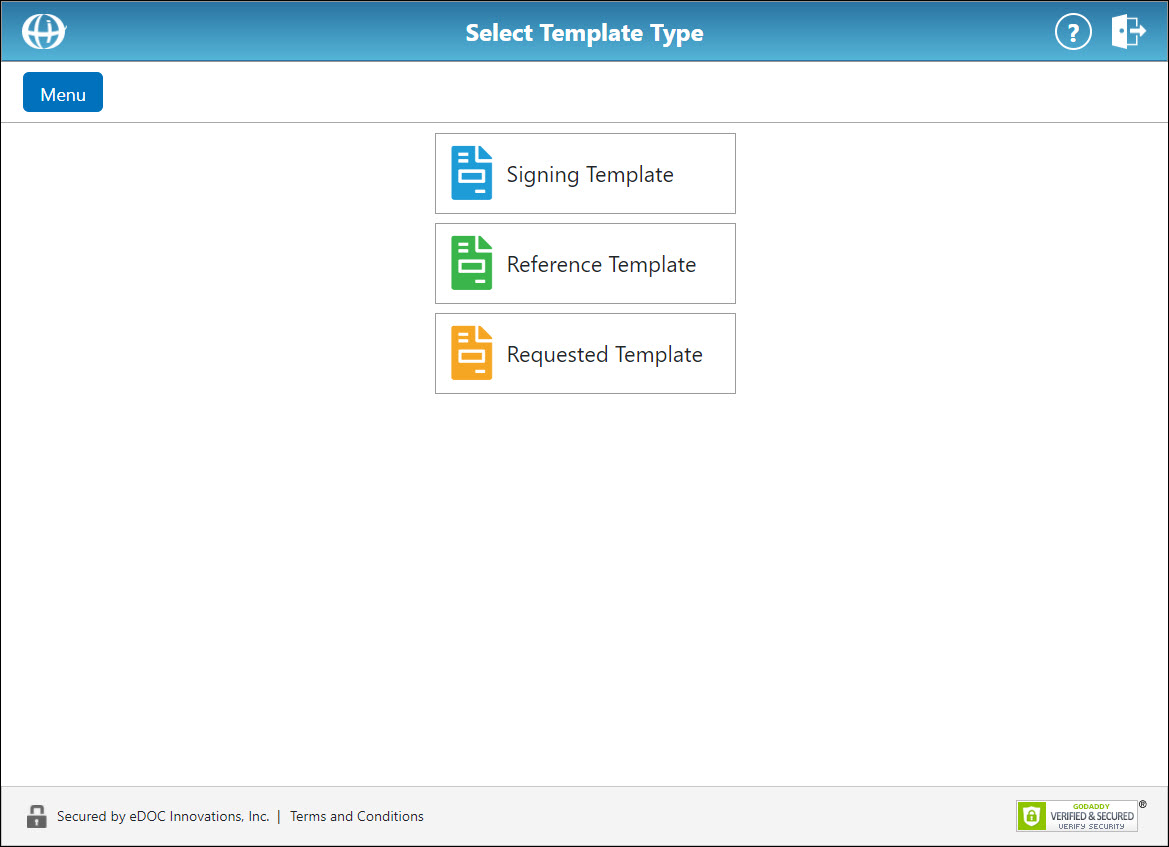
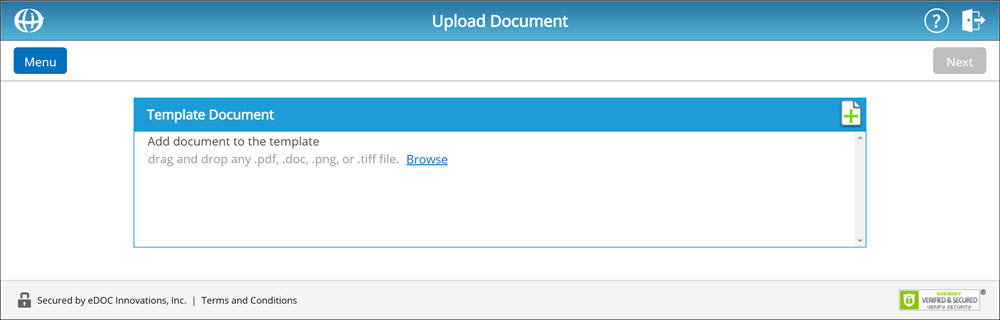
- Click Signing Template. The Upload Document screen appears.
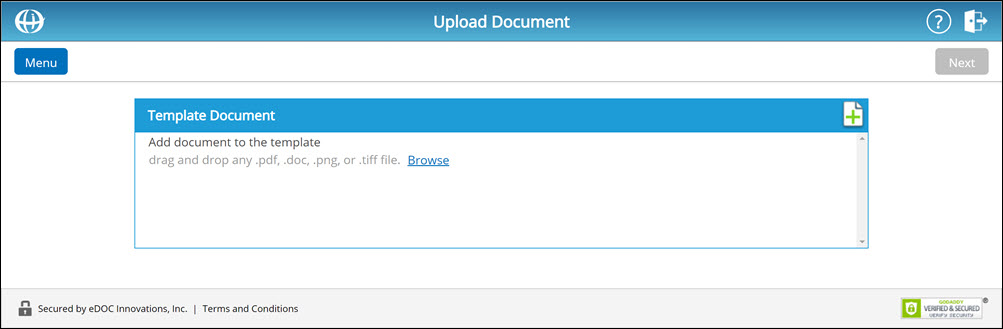
- To upload a document, click Browse or the green plus sign icon
 .
. - Using the file explorer, find the document you want to upload for the signing template document on your computer and select it.
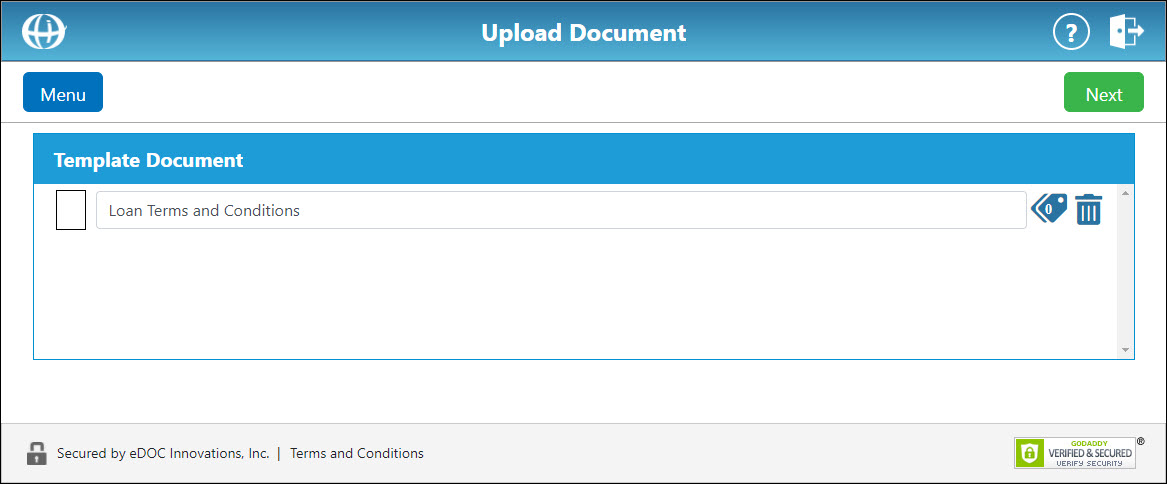
- Once selected, click Open. The Upload Document screen reappears with new options.
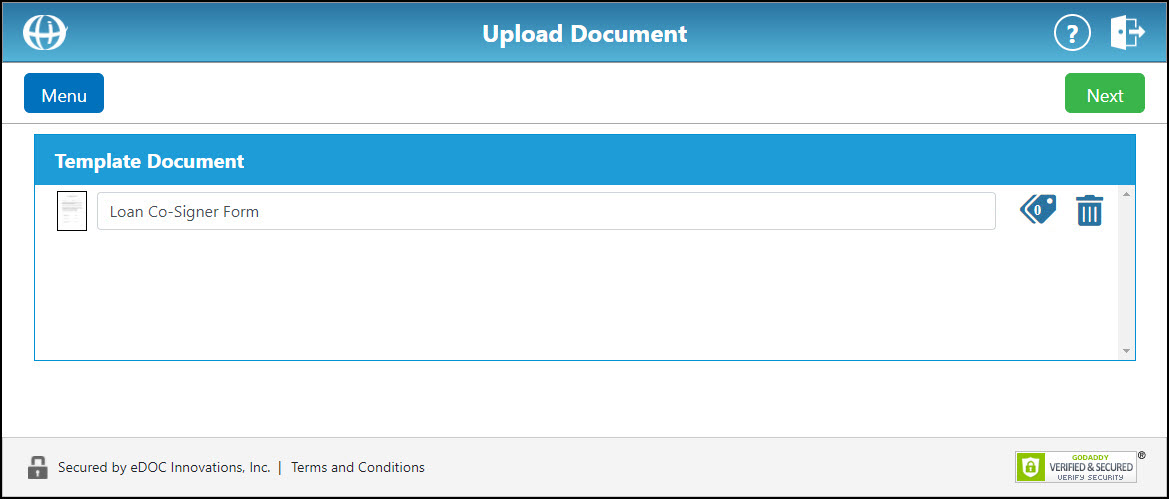
- The name of the signing template defaults to the name of the uploaded document. To change the signing template name, in the field beneath the "Template Document" heading, enter a new name.
- To apply a tag or set of tags to the signing template, click the tag icon
 . In the window that appears, select the tag(s) you want to apply. When finished, click Close.
To remove the selected document and upload a new document, click the trash can icon .
. - When the desired signing template has been uploaded, click Next to continue to the Select Signer Roles screen.
Create Reference TemplateCreate Reference Template
- From the Manage Templates screen, click Add. The Select Template Type screen appears.
- Click Reference Template. The Upload Document button appears.
- To upload a document, click Browse or the green plus sign icon
 .
. - Using the file explorer, find the document you want to upload for the reference template on your computer and select it.
- Once selected, click Open. The Upload Document screen reappears with new options.
- The name of the reference template defaults to the name of the uploaded document. To change the reference template name, in the field beneath the "Template Document" heading, enter a new name.
- To apply a tag or set of tags to the reference template. click the tag icon . In the window that appears, select the tag(s) you want to apply. When finished, click Close.
To remove the selected document and upload a new document, click the trash can icon. - To finish creating the template, click Next. The reference template is created, and it now appears on the list of available templates on the Manage Templates screen.
Create Requested TemplateCreate Requested Template
- From the Manage Templates screen, click Add. The Select Template Type screen appears.
- Click Requested Template. The Request a Document window appears.
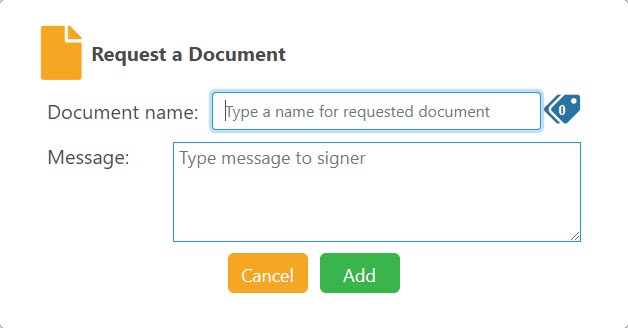
- In the Document Name field, enter a name for the requested document.
- To apply a tag or set of tags to the reference template, click the tag icon . In the window that appears, select the tag(s) you want to apply. When finished, click Close.
- In the Message field, enter a short message for the signer to view when they are prompted to upload the requested document.
For example, if creating a requested template for a Photo ID request, you might enter a message such as "please upload a copy of your Photo ID." - Click Add. The requested template is created, and it now appears on the list of available templates on the Manage Templates screen.