Select Signer Roles
Once a document has been uploaded, the next step in creating a signing template is entering signer information.
Signing templates require the use of template roles. The Select Signer Roles screen allows you set up default signer role information for the signing template being created.
You can prevent other signers on a package from seeing information associated with a specific role by using the Role Hidden feature.
About Template RolesAbout Template Roles
When setting up a signing template, role information is entered in place of signer information. A role is a standardized title associated with a template. Roles allow a signing template to easily be reused because signing elements on the template are associated with a role instead of a specific signer.
For example, if setting up a signing template called "Loan Application," you might create two roles: Applicant and Manager.
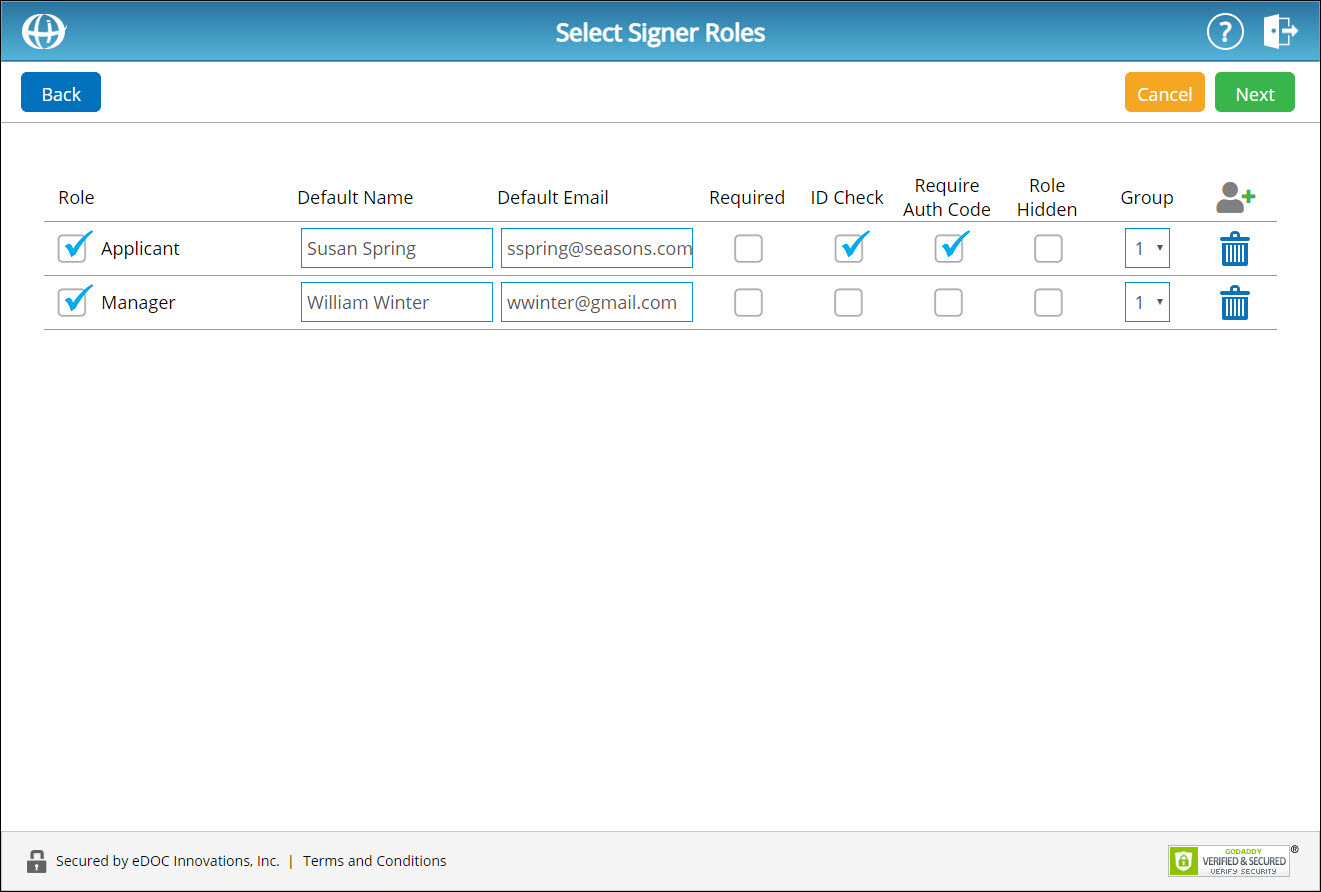
When adding a role to a template, you can enter a default signer name and email address for that role. Default signer names and emails associated with a role can then be modified each time the template is used.
You can create and manage roles from the Roles tab. You can also create roles during the signing template creation process.
About the Template Role Hidden FeatureAbout the Template Role Hidden Feature
When setting up role information for a signing template on the Select Signer Roles screen, there is a Role Hidden checkbox:
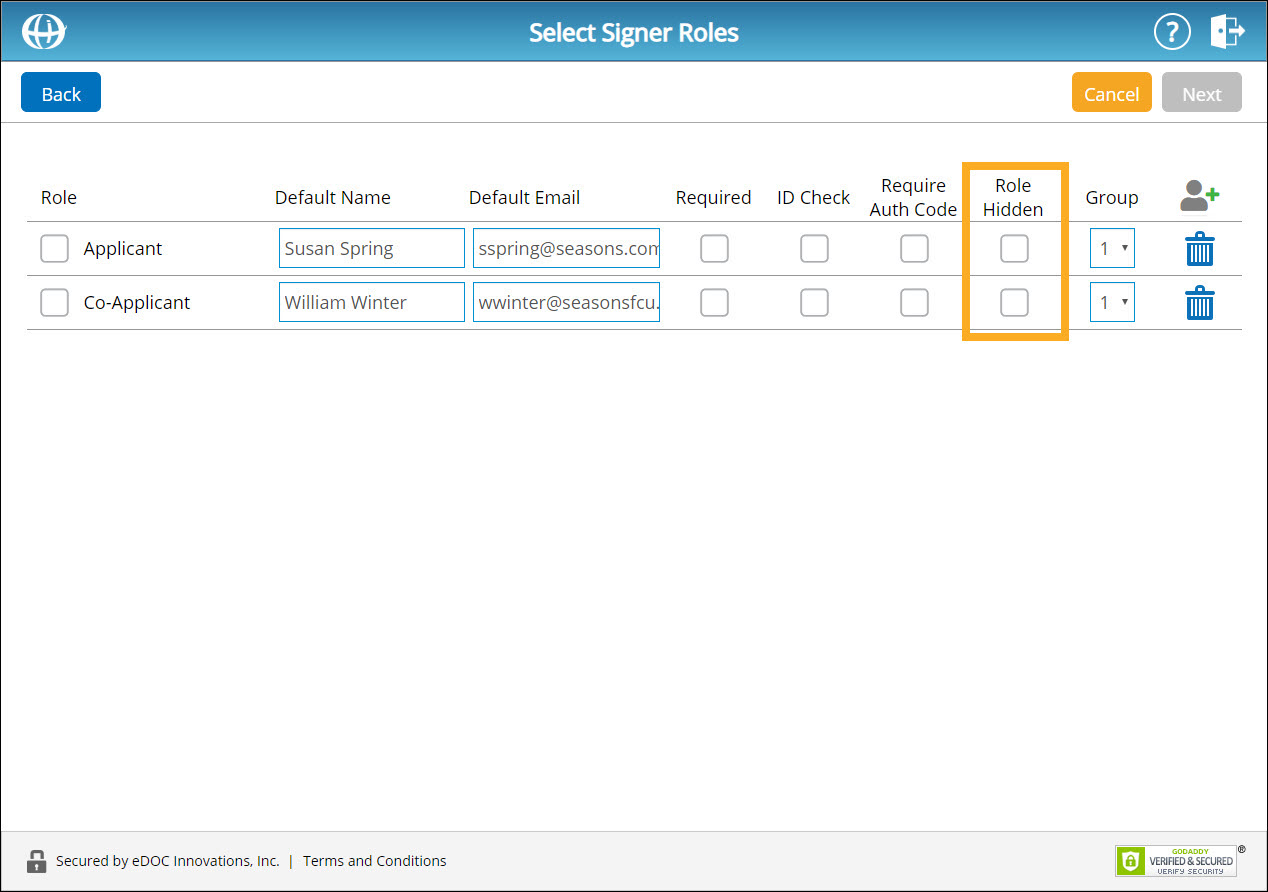
This feature is beneficial in the following scenario:
- You are creating a signing template that will be embedded as a self-service form on your website. The signing template contains multiple roles, one of which is an internal staff member role. Since the member completing the self-service form will not know the identity of this internal staff member, you can check the internal staff member role's Role Hidden box. When a member attempts to complete the form, they will not be prompted to fill out the internal staff member's information.
Select Signer RolesSelect Signer Roles
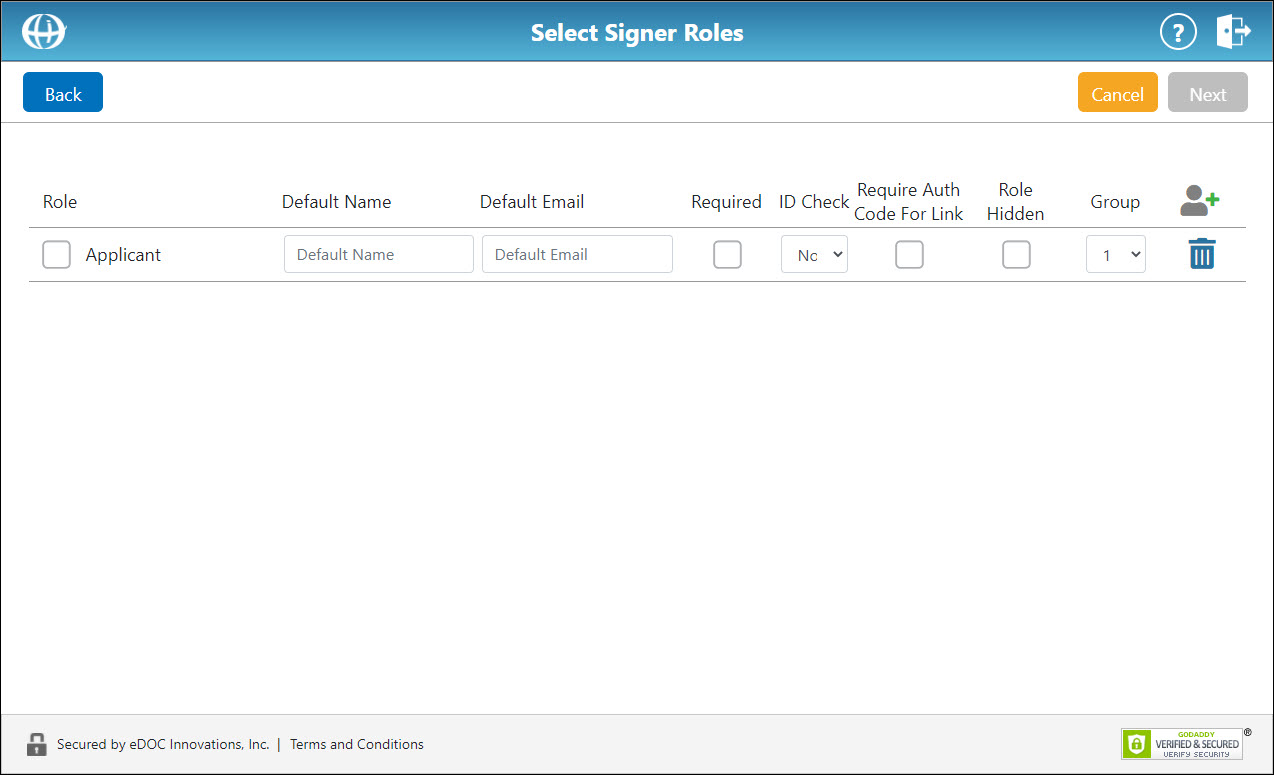
- To include a role for the selected template, check the corresponding box to the left of the role name.
To change the default name and email address of the signer for a role, in the corresponding Default Name and Default Email fields, enter a new name and/or email address.
To make a role required for the selected template, check the corresponding Required box.
To make a role hidden, check the corresponding Role Hidden box. - To make an ID Check required for a role by default, from the ID Check drop-down list, select an ID Check type.
View ID Check DescriptionView ID Check Description
ID Check allows you to verify a signer's identity before the document signing process occurs using one of the methods described below. Access to each ID Check method is subscription-based and must be enabled by a member of the eDOC Client Development team.
IDology is an out-of-wallet service that screens signers using their personal information and a series of personalized questions. The service scours billions of public data records to intelligently derive tactful, non-invasive quesitons to authenticate an identity.
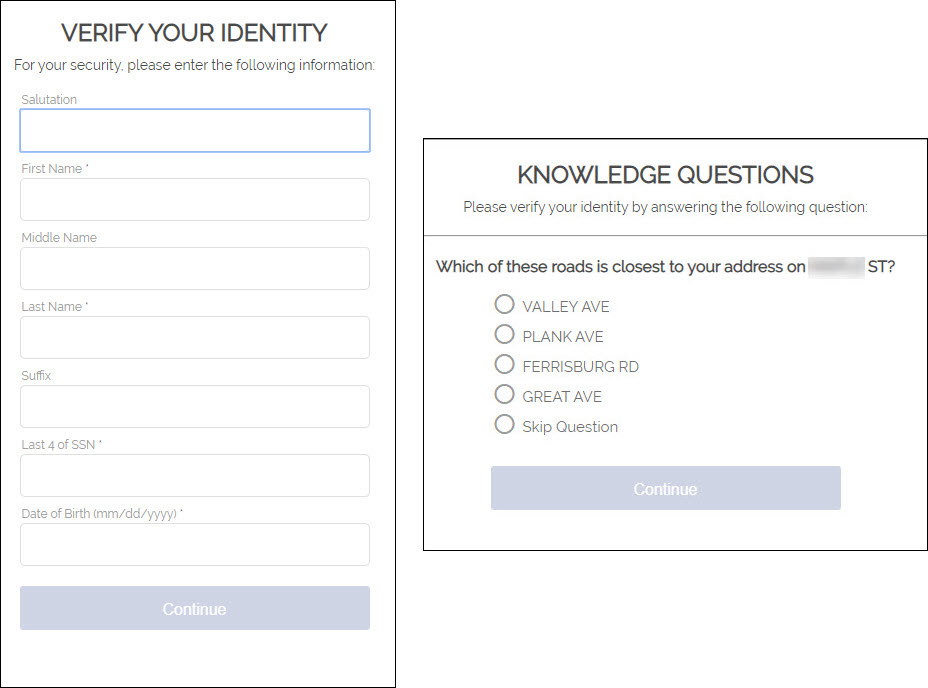
For each question, the signer has the option to choose "None of the Above" or "Skip the Question." Based on the number of questions answered correctly, your business can approve or deny the transaction. Once IDology confirms the signer's identity, they proceed to complete the signing process.
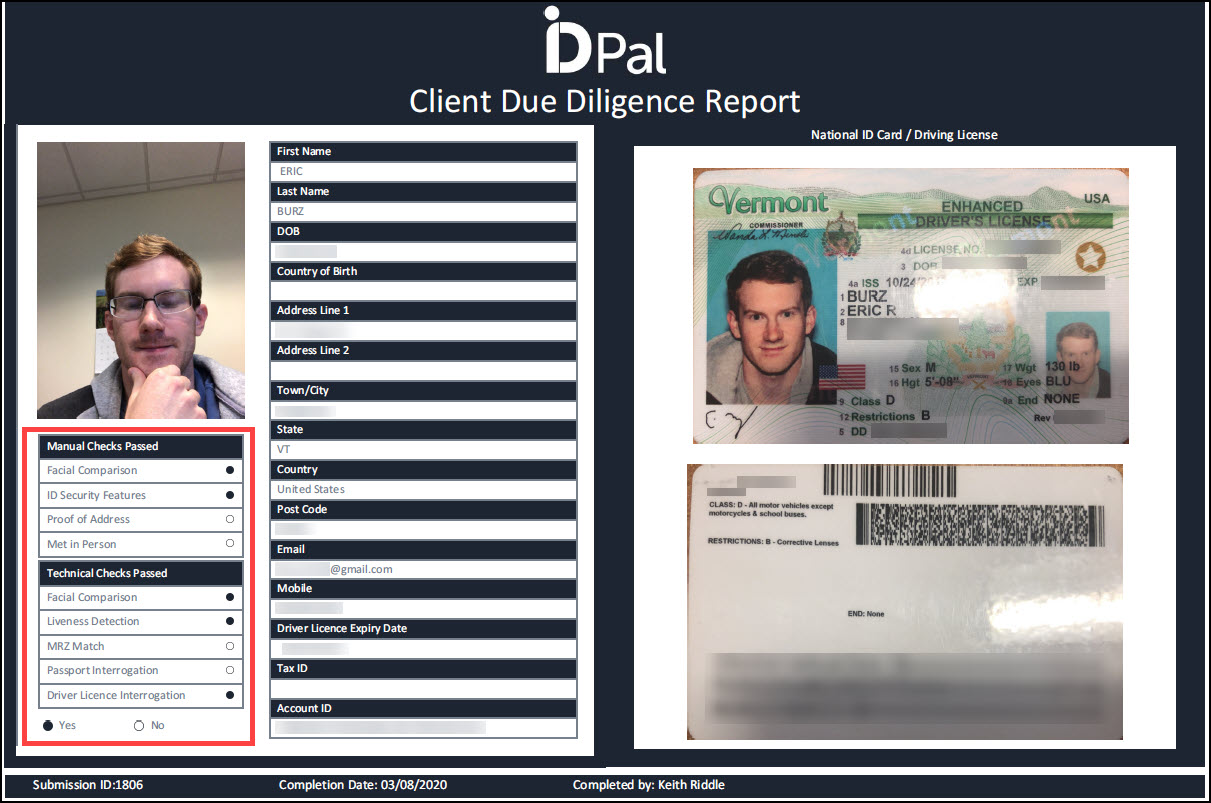
IDPal verifies a signer's identity by matching the information on their passport or driver's license with public data records. It also performs a "likeness test" using the signer's passport or driver's license photo and a current photo. Signers are sent a link to download the ID-Pal application on their mobile device. Once downloaded, signers use the application to upload a copy of their passport or driver's license as well as a current photo.
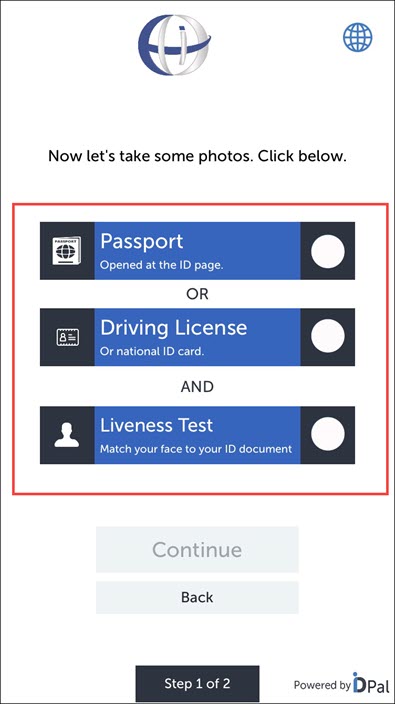
When IDPal confirms the signer's identity using the personal information and photos, they proceed to complete the signing process. A copy of the signer's Client Due Diligence Report is included with the completed package.
- If you are using this signing template to create a self-service form, you can require signers to set up their own authentication code prior to signing. Signers then use this code to access and view their completed documents once they have been signed, similiar to a PIN number. To require an authentication code for a signer role, check the corresponding Require Auth Code for Link box.
View Authentication Code DescriptionView Authentication Code Description
An authentication code is a security tool that can be used to help verify the identity of a signer. When an authorization code is entered for a signer, an email is sent to that signer containing the authorization code. During the document signing process, the signer is prompted for this code and must enter it before proceeding any further. Authentication codes can be a combination of up to six letter and numbers.
- To change the grouping order of signer roles, from the Group drop-down list for each signer role, select a group number.
View Grouping Order DescriptionView Grouping Order Description
Grouping order refers to the order in which signers receive a document for signing. For example, if two signers are set to be included in "Group 1" and one signer is set to be included in "Group 2," the signer in "Group 2" will not receive the document for signing until both signers in "Group 1" have completed the signing process.
- To add additional roles to the template, in the top-right corner of the screen, click the green plus icon
 . A new window appears.
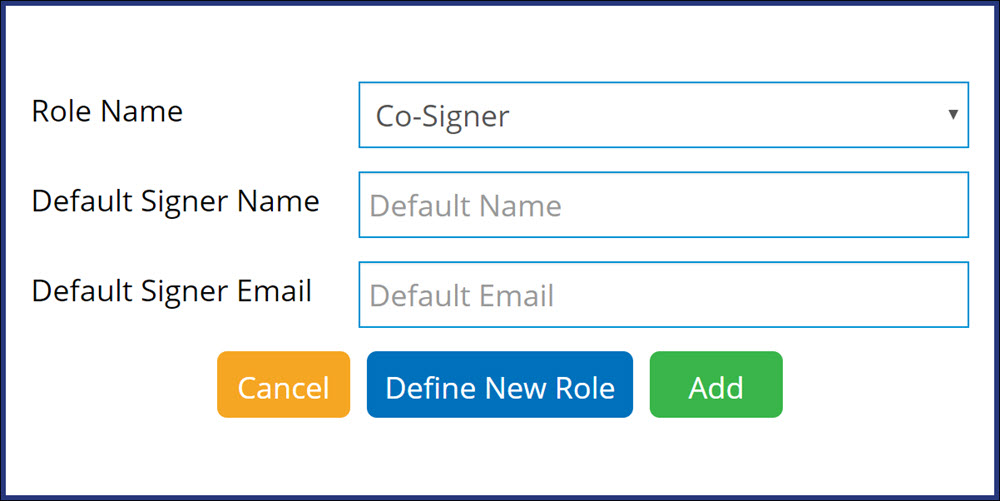
From the Role Name drop-down list, select a role. In the Default Signer Name and Default Signer Email fields, enter a default signer name and email address.
Alternatively, to define a new role, click Define New Role.
When finished, click Add. The role is added to the template. - To remove a role from the template, click the corresponding trash can icon
 .
.
When all desired roles have been selected, click Next to continue to the Index Data screen.