Review and Create Template
The Review and Create Template screen allows you to review and edit a signing template before it is created. You can modify any of the role, indexing, or sharing data associated with the signing template.
Review and Create Signing TemplateReview and Create Signing Template
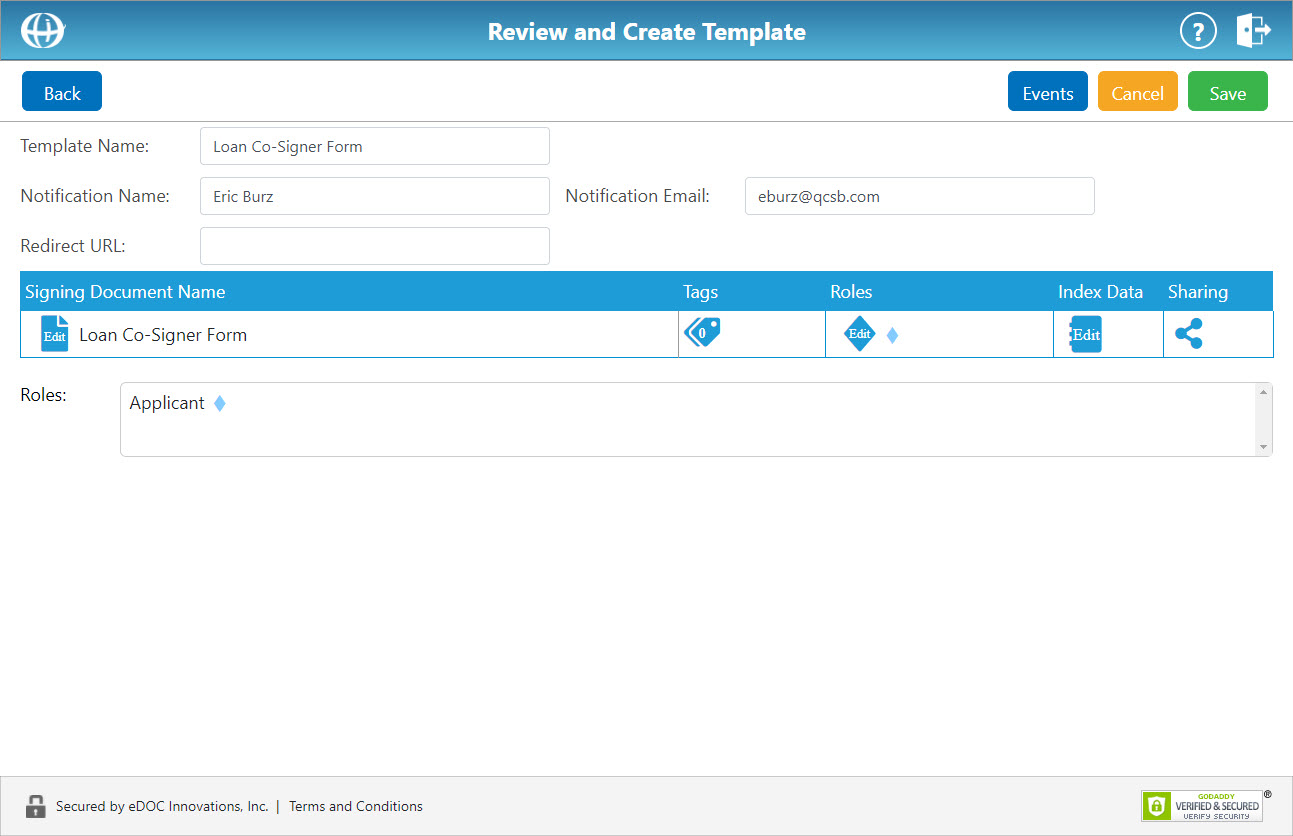
- To change the name of the template, in the Template Name field, enter a new template name.
- To return to the Set Up Template screen for the signing template, click the Edit Template icon
 for that signing template. The Set Up Template screen for that template reappears.
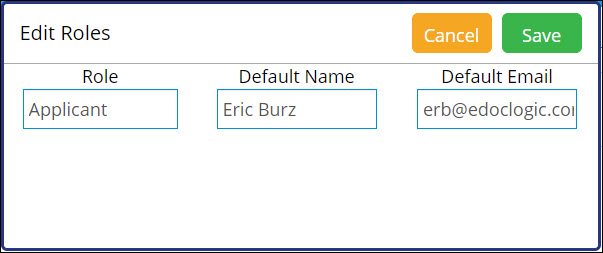
 - To edit the roles on a signing template, in the Roles box, click the Edit Roles icon
 . In the Edit Roles window that appears, edit the current role information.
- To edit the index data associated with the signing template, in the Index Data box, click the Edit Index Data icon
 . The Index Data screen reappears.
 - To edit the sharing data associated with the signing template, in the Sharing box, click the Sharing icon
 . The Sharing screen reappears.
 - To change the notification name or notification email associated with the package, in the corresponding box(es), enter a new notification name and/or notification email.
View Notification Name/Email DescriptionView Notification Name/Email Description
If a new notification name or email address is entered on the Review Document Information screen, that new name/email address will receive the final "package complete" email notification in place of the package sender.
- The redirect URL determines the website to which package signers are redirected once they have completed the signing process.
To change the redirect URL for the package type, in the Redirect URL field, edit or enter the redirect URL.
Note: If your redirect URL uses an HTTPS protocol, you do not need to enter the full URL. (e.g. myredirectURL.com).
If your redirect URL uses an HTTP protocol instead of an HTTPS protocol, you must enter the full URL (e.g. http://myredirectURL.com).
- If you are using this signing template as a self-service form and want to add an event, click Events. The Add New Event window appears.
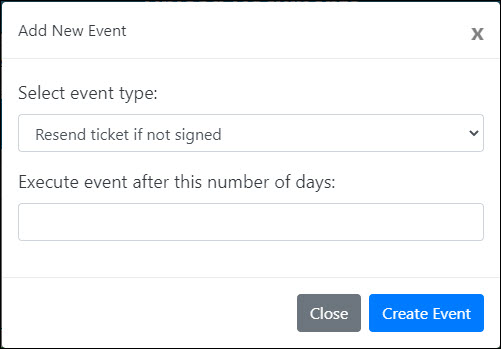
From the Select event type drop-down list, select an event type:
- Resend ticket if not signed – Resends email notification to signer if not signed after the allotted number of days.
- Notify creator if not signed – Sends email notification to package creator if not signed after the allotted number of days.
- Delete package if not signed – Deletes package from the system if not signed after the allotted number of days.
In the Execute event after this number of days field, enter the number of days after which you want the event to occur.
Click Create Event. The Events window appears showing the newly added event. The date and time at which the event will occur is listed beside the event.
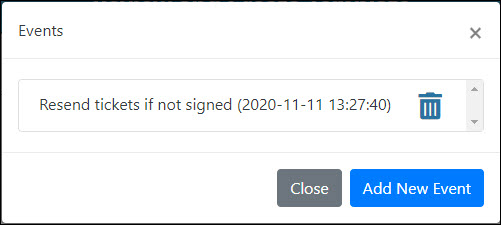
To add additional events, click Add New Event.
To close the window, click Close.
For more information about events, click here.
- To cancel the creation of the signing template, click Cancel.
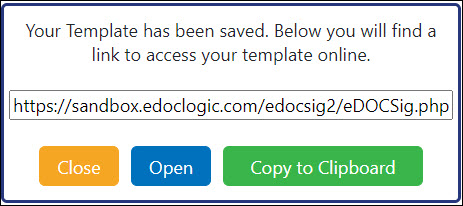
- To create and save the signing template, click Save. Your signing template is saved and now appears on the list of available templates on the Manage Templates screen.
A new window appears with a link to access your signing template online.
For more information on how this link can be used to create a self-service signing form, click here.